“From gardens to farms, biochar is gaining traction across the UK as highly beneficial soil amendment. While its commercial price tag can be steep, many gardeners and farmers are discovering they already have the resources to produce quality biochar themselves. This guide focuses specifically on sourcing and preparing feedstock for biochar production in the UK, helping you create this valuable soil enhancer using local resources, without generating the excessive smoke that often concerns first-time producers.”
Biochar is produced by burning organic matter in an oxygen-restricted environment, offering a wealth of benefits for soil health, crop yields, and carbon sequestration. But before you can reap these rewards, you need to prepare your feedstock. This guide provides a comprehensive understanding of feedstock preparation, empowering you to produce high-quality biochar efficiently and effectively.
Understanding Feedstock
Feedstock refers to the organic material used to create biochar. Different feedstocks yield different results, impacting the biochar’s properties and its effects on the soil. Common feedstocks include:
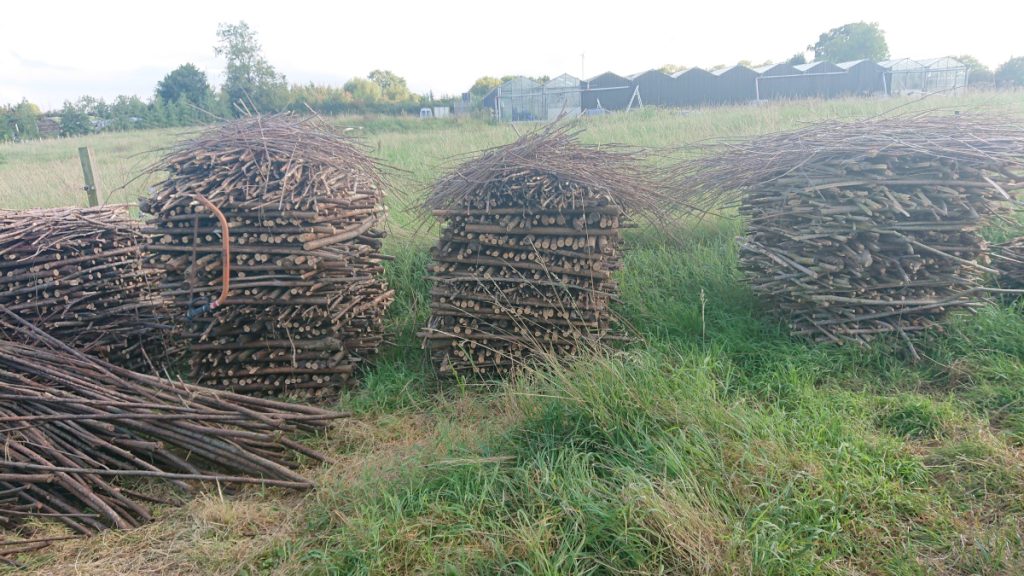
- Wood Chips: Abundant and versatile, wood chips make an excellent feedstock for biochar production. Sourcing from local forestry waste or sawmills ensures a sustainable supply.
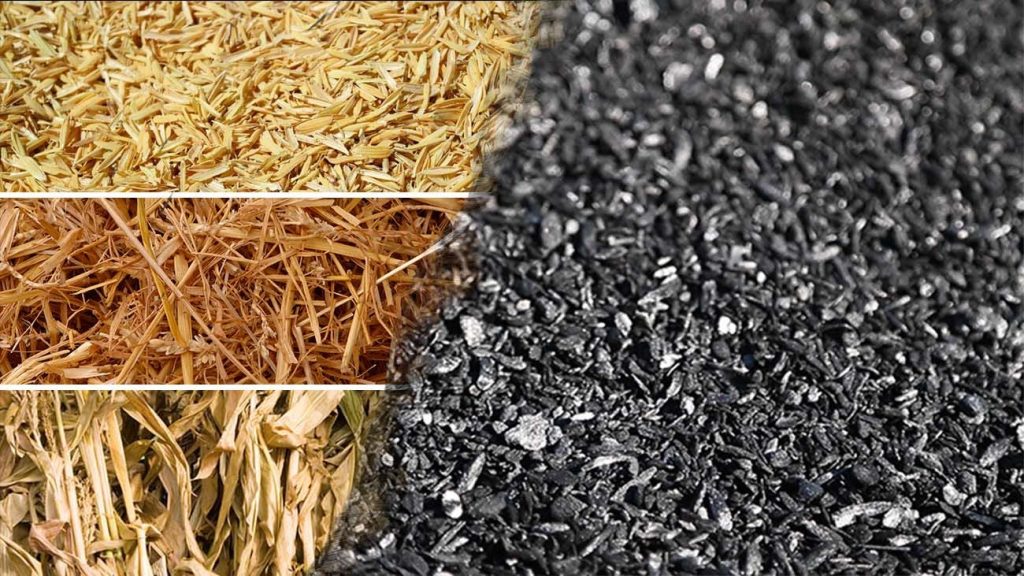
- Agricultural Waste: Crop residues, straw, and husks offer a cost-effective and environmentally friendly feedstock option. Utilize these materials to reduce waste and create a valuable soil amendment.
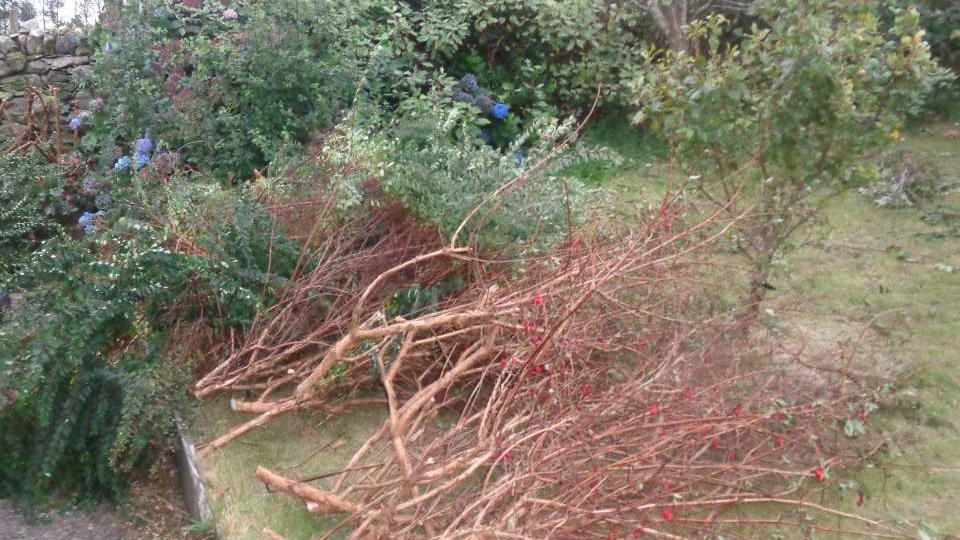
- Tree Prunings: Pruned branches and twigs from gardens, orchards, hedgerows and woodlands can be effectively converted into biochar. Ensure these are dried before charring for optimal results.
Choosing the right feedstock depends on your specific needs and available resources. Locally sourced materials are often the most sustainable and cost-effective option. For long-term sustainability, consider starting a coppice—a regenerative way of securing fuel for biochar and other products that can be scaled to suit your needs. Read our article on Coppicing to find out more.
Preparing Your Feedstock: The Importance of Drying
One of the most critical steps in biochar production is drying your feedstock. Moisture content significantly influences the charring process and the quality of the final product. Ideally, your feedstock should have a moisture content of 15% or less for optimal results. Higher moisture levels can lead to inefficient burning, increased smoke production, and lower-quality biochar.
When moisture in your feedstock turns to steam, it cools the combustion area, reducing carbon stabilization. This results in charcoal rather than biochar, which will ultimately break down and won’t last as long in soil. Our flagship kiln, with its open-top system, offers more flexibility and can process feedstock with up to 25% moisture, allowing you to process your biomass more quickly.
Several drying methods are available, depending on your resources and the type of feedstock:
- Air Drying: This simple method involves spreading the feedstock in a thin layer and allowing it to dry naturally in the sun and wind. This can take several weeks or even months, depending on the weather conditions.
- Forced Air Drying: Using fans, tumblers or other ventilation systems can accelerate the drying process. This method is more energy-intensive but significantly reduces drying time.
- Kiln Drying: Some biochar kilns incorporate drying mechanisms, allowing you to dry and pyrolyse the feedstock in a single unit. This is a convenient option, though it often comes at a higher initial cost.
While woodchip and small particulate biomass can speed up the drying process, they generally require more energy in the long run including the energy needed to create woodchip initially. Smaller particles can also restrict airflow necessary to carry moisture away, so they must be rotated or layered out thinly for even exposure; either mechanically in a tumbler or manually raked daily on a greenhouse floor. Another option is spreading material thinly onto mesh shelves within a greenhouse or poly-tunnel, though this requires careful logistical planning.
Unprocessed tree and shrub prunings often require the least effort for drying, though they take longer. These can be dried in a sunny spot for next year’s use, or even incorporated into a dead hedge to season annually. Alternatively, light processing can reduce storage space requirements, and covering with a tarpaulin or makeshift shelter can reduce drying time.
Location is also crucial for effective drying. Choose an airy, sunny, dry spot, perhaps in a greenhouse or poly-tunnel, to greatly improve drying time.
From Feedstock to Biochar
Once your feedstock reaches 15% moisture levels, it’s ready for conversion into biochar. At this stage, what remains is carbon-based content in the form of woody structure: the fibres, resins, oils, etc. During pyrolysis, heat breaks down this material, driving off everything that isn’t carbon and leaving behind stabilized carbon.
Charcoal, on the other hand, is made at lower temperature and/or higher moisture to retain some oils and resins, which ultimately breakdown and doesn’t last as long. It is only the stabilised Carbon that remains benefiting your soil, crops and environment for generations.
Choosing the Right Biochar Kiln
The biochar kiln you choose will depend on your production scale, budget, and desired features. For small-scale producers, several options are available:
- DIY Kilns: Building your own kiln can be a cost-effective option, though it requires some construction skills and time. Numerous designs are available online, ranging from simple metal drums to more complex brick structures.
- Biochar Retorts: Retorts have been around for a lot longer and are more suited to larger feedstocks. They are not so portable and require the feedstock to be brought to them. These require heavier materials that contribute to a higher initial cost.
- Portable Flame Cap Biochar Kilns: Preta Carbon offers a highly portable flame cap kiln that is compact, easy to store, and transport for making sizeable batches of biochar. These kilns are more affordable than larger/heavier alternatives and come in various production capacities. They offer efficient and clean burning, minimizing smoke and maximizing biochar yield. You can find a full comparison chart on our product page.
The Biochar Production Process: Step-by-Step
- Feedstock Collection and Preparation: Gather your chosen feedstock and prepare it for drying.
- Drying: Dry the feedstock using your chosen method until it reaches the desired moisture content.
- Loading the Kiln: Carefully load the dried feedstock into the kiln, allowing for proper airflow.
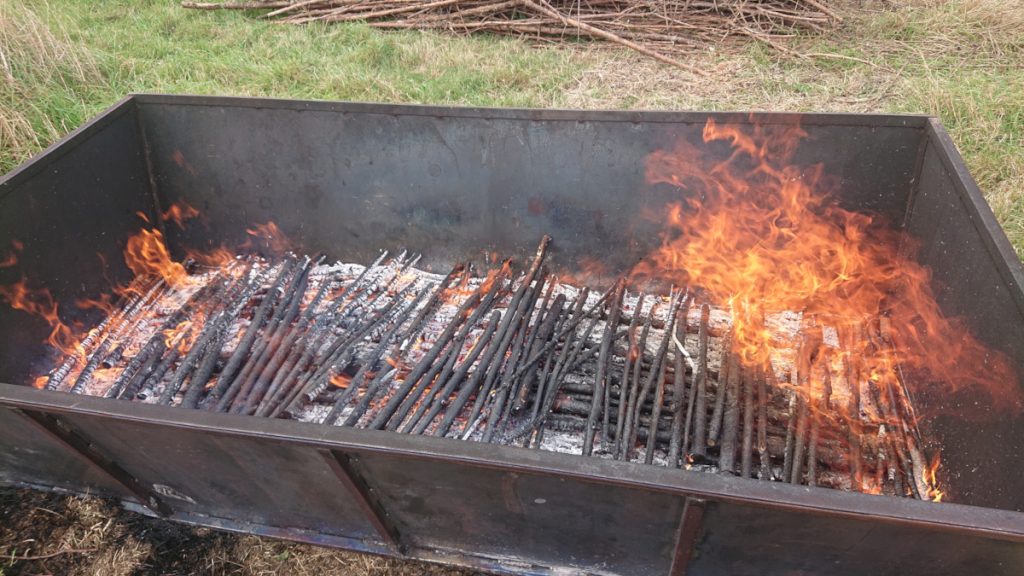
- Pyrolysis: Ignite the kiln and monitor the pyrolysis process. Maintain the appropriate temperature and airflow for optimal biochar production.
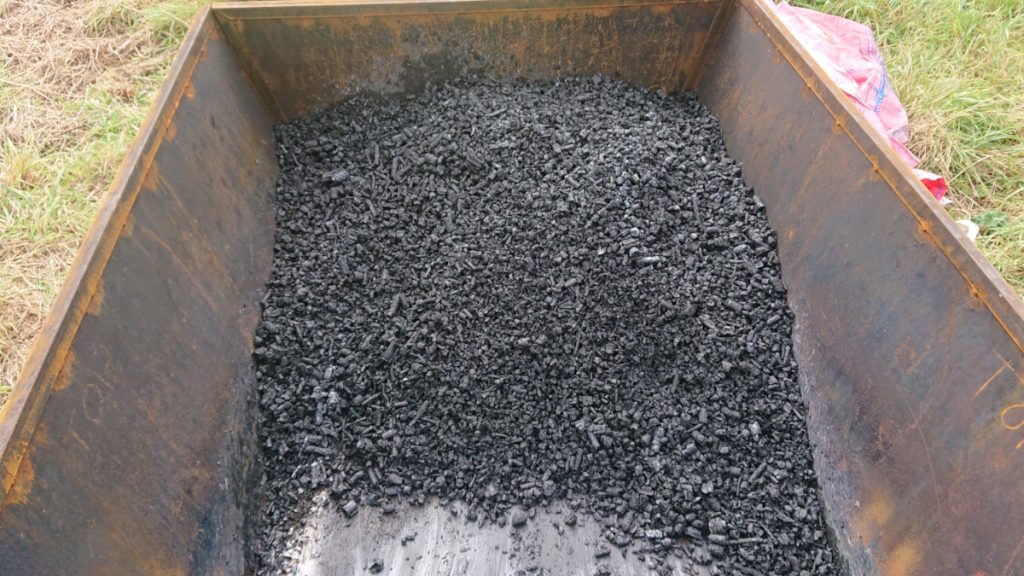
- Cooling and Harvesting: Quench and cool the biochar thoroughly before integrating it into your soil building system.
Cost-Effective Biochar Making Methods
Producing biochar doesn’t have to be expensive. By utilizing readily available resources and choosing the right equipment, you can minimize costs without sacrificing quality. Consider these cost-saving strategies:
- Source free or low-cost feedstock: Utilize garden waste, agricultural residues, or partner with local tree surgeons to obtain wood chips.
- Build a DIY kiln: If you’re handy, building your own kiln can significantly reduce upfront costs.
- Optimize the drying process: Efficient drying minimizes energy consumption and reduces overall production costs.
Biochar: A Sustainable Solution for a Healthier Planet
Mastering biochar production is a rewarding endeavour that offers numerous benefits for your soil and the environment. By selecting the right feedstock, properly preparing it, and using an efficient biochar kiln, you can create high-quality biochar that enhances soil health, increases crop yields, and supports the environment. With this guide, UK small-scale producers can confidently embark on their biochar journey, making a positive impact on their gardens, farms, and the planet.